
In December I had the bright idea to start a kitchen renovation. On a whim, really, and with no true idea of where to begin.
When we bought our house last May, remodeling the kitchen was way down on the list of projects we wanted to tackle, but when I found a tile backsplash I liked on sale, it sparked a desire to take on this space right away.
I set to work drawing up design plans and pulling inspiration from my favorite places on the web — Instagram and Pinterest — and before I knew it, I had a solid vision I was excited to bring to life.
{See kitchen renovation plans here}
Because we are normal folks with realistic budgets for home renovation projects, it was important that we establish short-term and long-term goals for the kitchen.

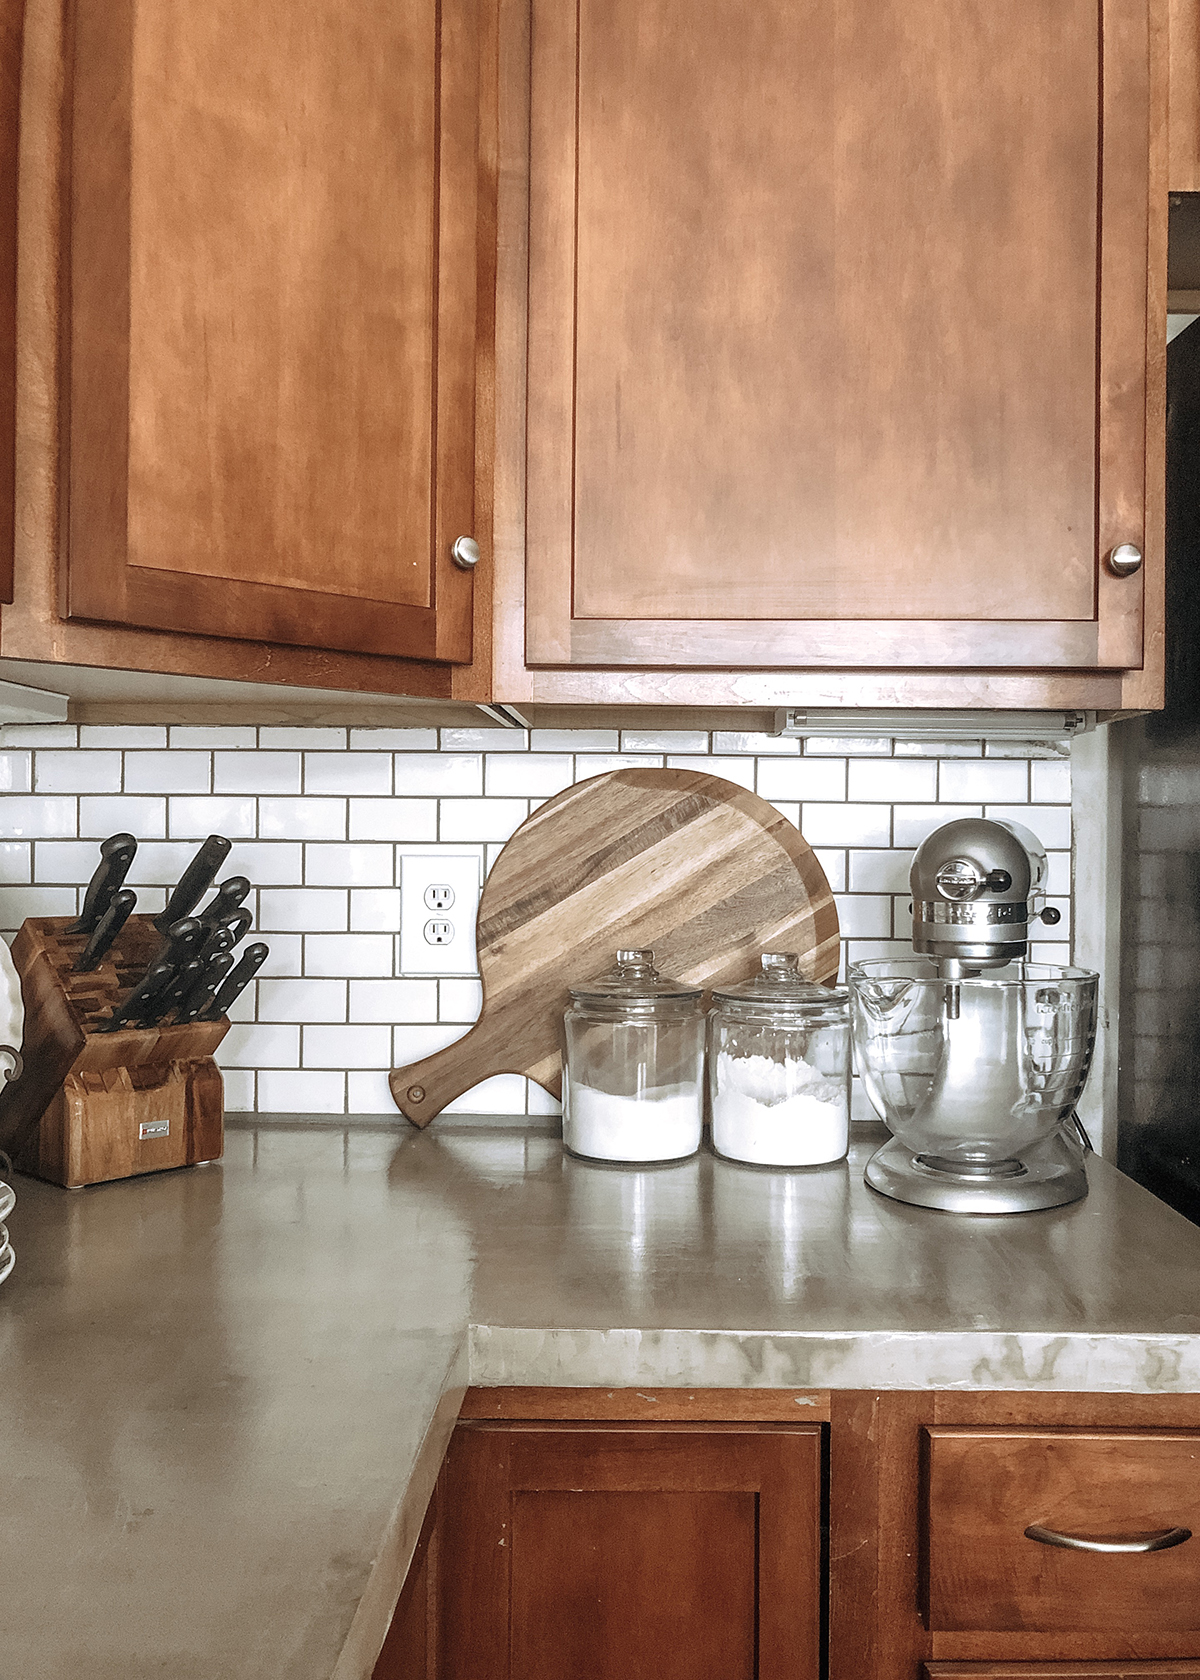
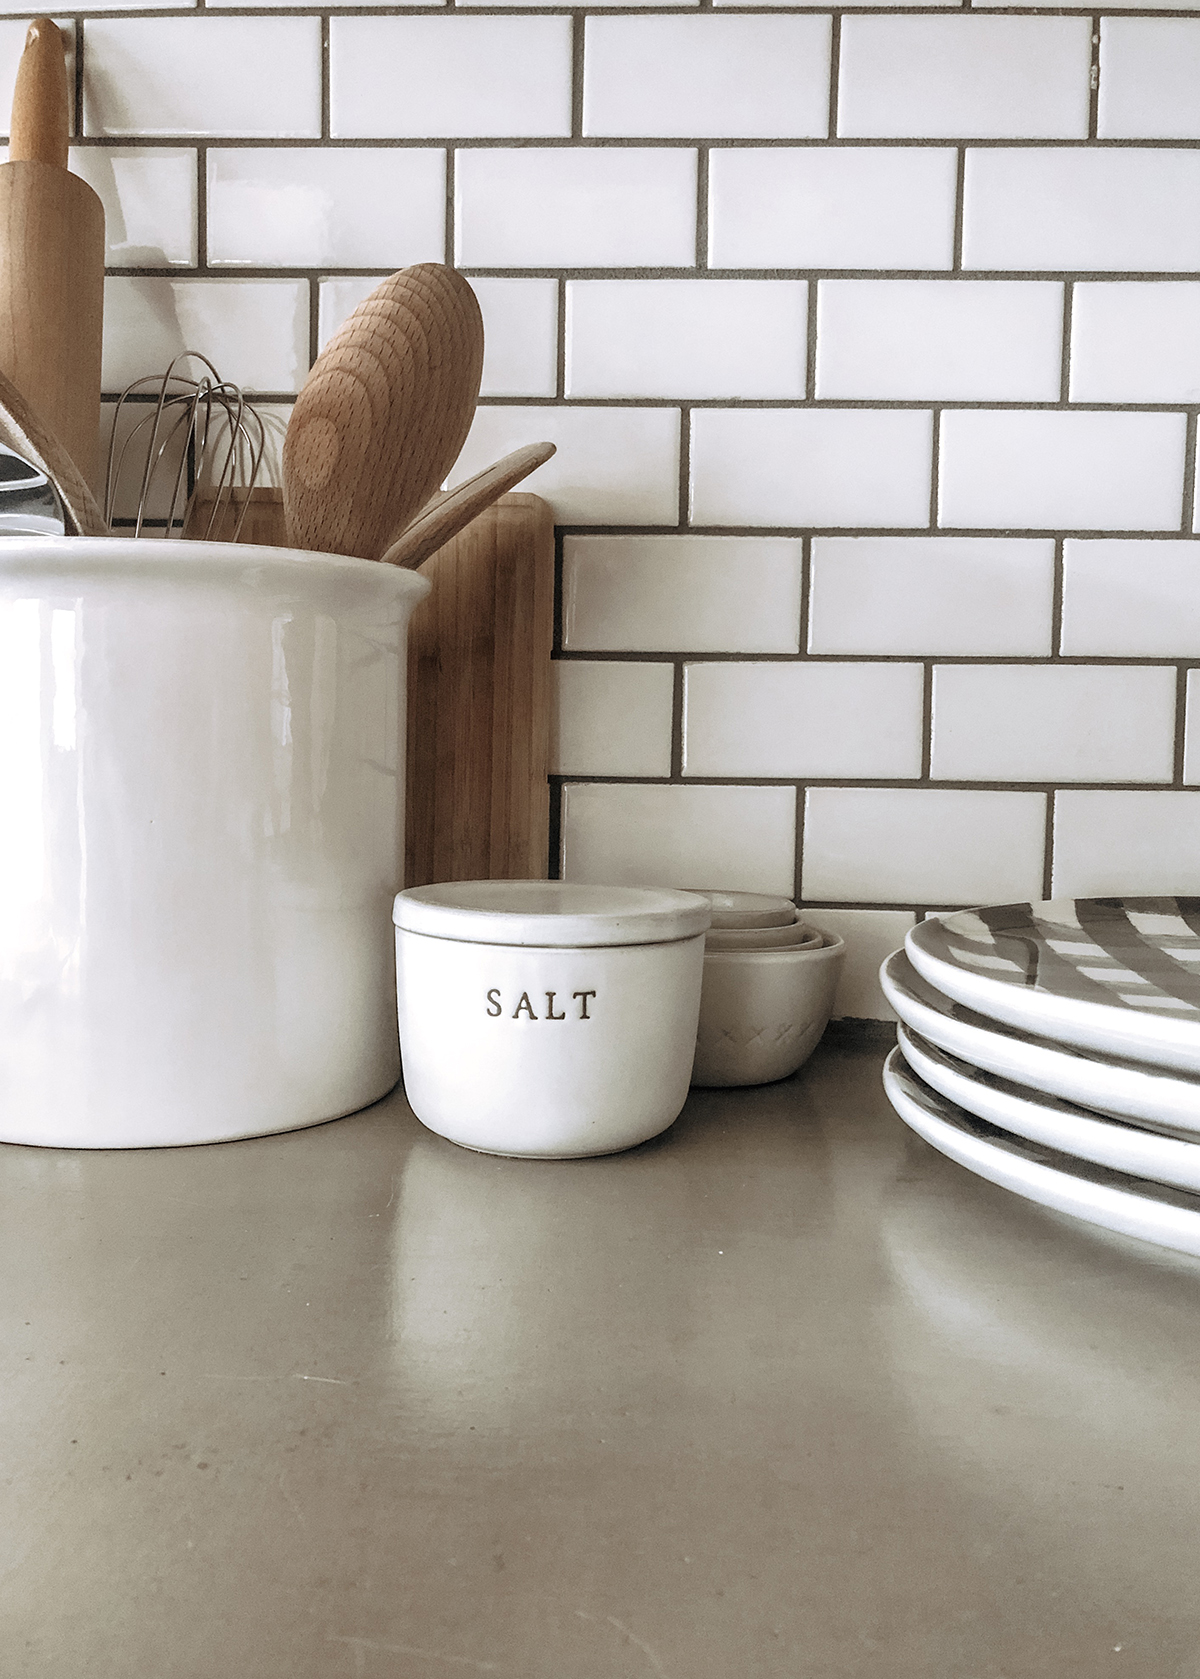
The short-term goals are part of this first reveal and include everything we completed with our small budget. These were mostly cosmetic updates that we could complete in a few weeks, such as our DIY concrete countertops and the subway tile backsplash.
{For pictures of what our kitchen looked like before, visit this post}
Our long-term goals will take a little more investment from us and will be completed over the course of this year. For that, we hope to install new flooring and upgrade our kitchen appliances.
For this first stage, though, our countertops needed to go but we did not want to completely replace them.
New stone countertops wouldn’t really fit our home style and we felt like the return on investment would be low or nonexistent. That’s why we needed a DIY solution that would look great and be practical for our budget.
I scoured the internet for DIY countertops but nothing I saw felt right. Then, I saw a blog post written by someone who poured concrete over her existing laminate countertops and I was sold.
I cannot tell you how many YouTube videos I watched or how many blog posts I read on do-it-yourself concrete countertops before I felt confident with a plan of action. Seriously, concrete is no joke and if we messed it up, we were screwed.

I found these plans for feather finish concrete countertops on Bless’er House and felt comfortable enough to give it a try. Lauren does an amazing job detailing the process for creating these industrial beauties, and she even breaks down the mistake she made so that you don’t make it, too. Because she has written a great post on this process, I’m not going to rehash the steps here. Instead, if you’re interested, I encourage you to head to her website and read her how-to guide.
To jump right in, we started this remodel with a lot of help from my dad and began covering our existing laminate countertops with a cement-based product called feather finish.
As soon as the first layer of concrete went on, I was in love and knew we made the right decision.


I will say, it took much longer to complete the counters than I initially thought it would. We did four layers of the concrete mixture and let each layer dry completely for 24 hours before we added the next layer.
This step in the project was also extremely messy. Each layer of concrete had to be sanded to a smooth finish before the next layer could go on, and the sanding dust went everywhere. Our cabinets and floor were coated in a thick layer of this stuff when it was all done.
Watching our countertops transform from yucky old white laminate to beautiful, modern concrete was incredible, and knowing that we did it ourselves (with help from my pops) is such a rewarding feeling.
{This is an affiliate link. When you shop using this link, I receive a small commission which allows me to keep delivering content through Dammit, Hali.}
After the countertops were completely done and sealed, we moved on to installing the subway tile backsplash I loved so much.
I’m not going to lie, I took a step back and left this part of the project completely to my dad. He has done tile work for years and knows what he’s doing, so my kitchen was in more than capable hands.


It took about three days to finish the backsplash, and I was definitely running out of patience at this point. But my goodness, it was so worth it.

We also used this time to upgrade our old, stainless steel double basin sink to a new, farmhouse white single basin beauty that fits in perfectly with our kitchen design.


{This is an affiliate link.}
Swapping out the sink has been life changing. The basins were so small in the sink we had that we couldn’t fit anything in them!
This was hands down the best functional design change we’ve made yet.

It was our original plan to paint the cabinets a creamy white this summer (when we can sand the doors outside), but now that the backsplash is up and the countertops are done, we kind of like the current wood stain contrasted against the rest of the space. Ugh, isn’t home design so fun?

Budget breakdown /// Materials needed
(not including tools)
Countertops
- 2 boxes Henry Feather Finish ($17/box; $34 total)
- 60, 120 & 220 grit sanding discs ($10 each; $30 total)
- 32 oz. 511 Impregnator Sealer ($30)
- 32 oz. Safecoat Acrylacq in gloss ($45 with shipping)
Backsplash
- 12×12 tile squares ($143 total)
- Mortar ($23)
- Grout ($20)
- Caulk ($3)
Other
- Sink ($150)
- Faucet ($115)
- Sink flange ($24)
- Caulk ($5)
- Outlet covers ($30)
Total investment: $652


Hi! Your kitchen is looking beautiful. The feather finish concrete countertop is classy. The color combination of the kitchen is very soothing and nice. Thank you for inspiring us.👍🙂
Thank you! We are still so happy with it!